This is a helpful, quite generic excel sheet for the Do-it-yourself line measurement of paragliders.
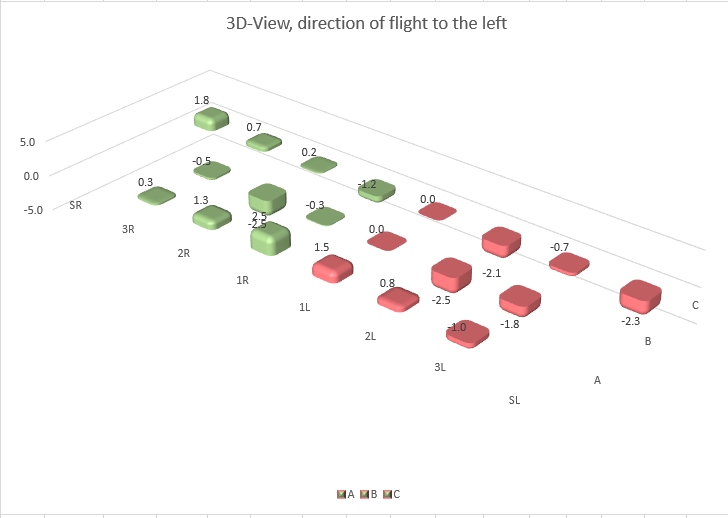
It allows the treatment of measured line length, provides according visualisation and supports experimental trim changes.
You may download the excel sheet considering our Software License Agreement with the following link. Please notice the usage disclaimer on the 3rd sheet.
Example of a laser measurement installation:

Visualisation of the measurements:

How to do it:
- Get the line check lengths for your paraglider provided by the manufacturer of your paraglider.
- Fill the names of the attachment points into the column "Attach." (Attachment).
- Define the according base lines (at the risers) into the column "Basel." (Baseline) of the measurement part and the column "Line" of the trim part.
- Fill the reference lengths into the column "Ref." (Reference).
- Measure the total line length for each attachment point an put the values into the accoding columns "Left" and "Right" .
- Set the field "Riser Offset" so that "Avg Diff" or the average diff on the B attachments becomes minimal..
- The columns "Diff L" and "Diff R" show now the differences, in the measurement part for the single attachments, in the trim part for the base lines. The latter serve as base for the visualisation.
- Now you may experiment with the trim values in the columns "Trm L" and "Trm R".

Example:
Try to understand the procedure by having a look at the example of the DELTA 3 in the download. The C lines are particularly interesting. The C and D attachments are led to the C base lines (e.g. the attachment points C1..C4 and D1..D6 to the base line C1). The stabilo A15/16 and B15/16 maps to the base line C4.
ATTENTION:
Please take care to not distroy the defined column regions when you change or adapt the sheet. These are used by the generic formulas. You have to know what you are doing and understand the concepts.


